|
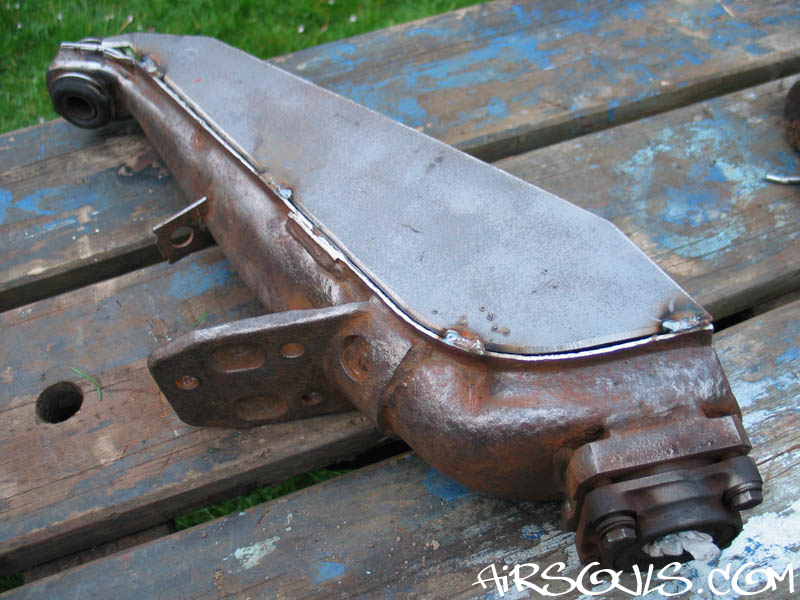
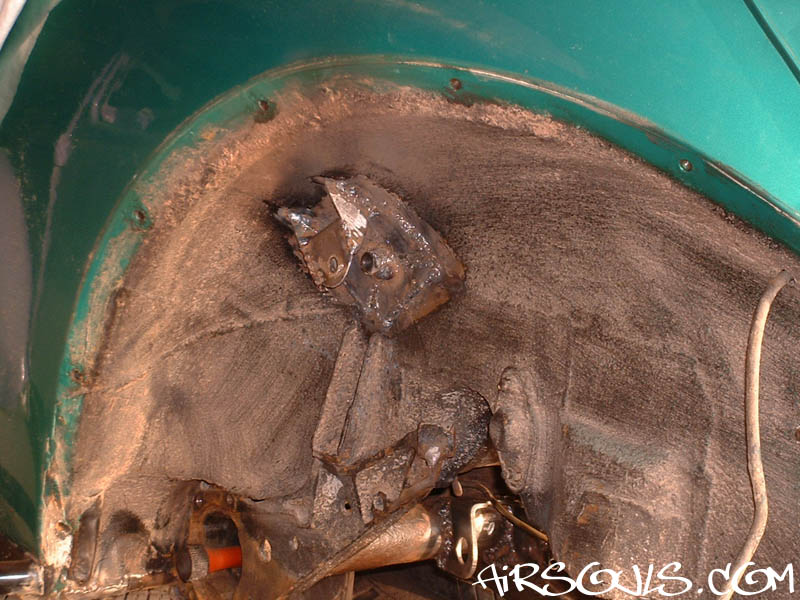
From this...
|
When I converted my Baja to IRS
I didn't want to use stock trailing arms, I wanted something
stronger. I had seen the boxed trailing arms on American Bajas,
so decided to make my own. I fully intended to strip down
some IRS arms and make some templates, but chanced upon this
website: Johnnys
Buggy. The owner of the website mentioned on one of the
pages that he had pre-cut plates for trailing arm boxing for
sale. As luck would have it he had a set kicking around so
I bought it.
|
...to this!
|
| |
|
|
|
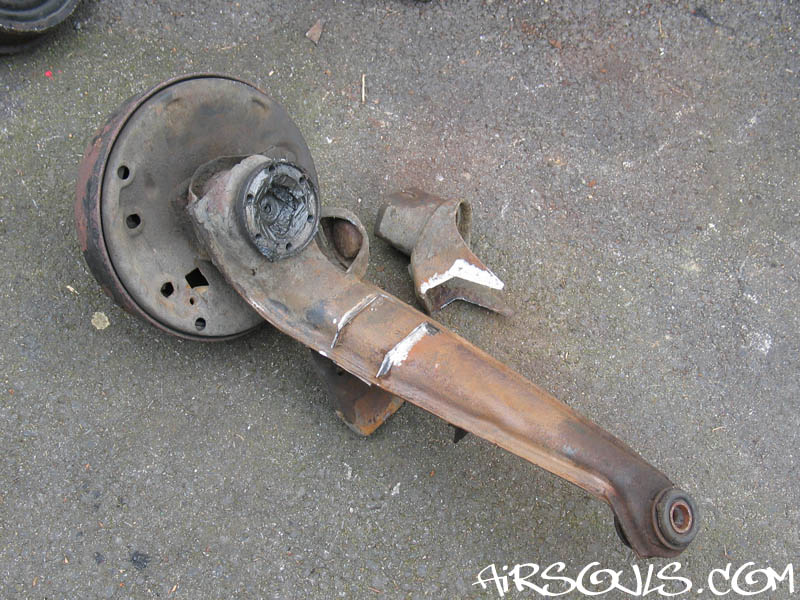
1. You can use
Type 1 or Type 3 IRS trailing arms, they are the same. (Forget
Type 2 trailing arms, they are a completely different design
and too weak.) Take a good look at the arms you picked to
make sure that they aren't damaged. The arms give slight negative
camber on a stock bug, so they are sided.
First strip everything off the trailing arm: drum, stub axle,
the lot. Then chop off the shock mount and the bump stop mount.
Leave the bearings in for now, but protect them with something. |
|
| |
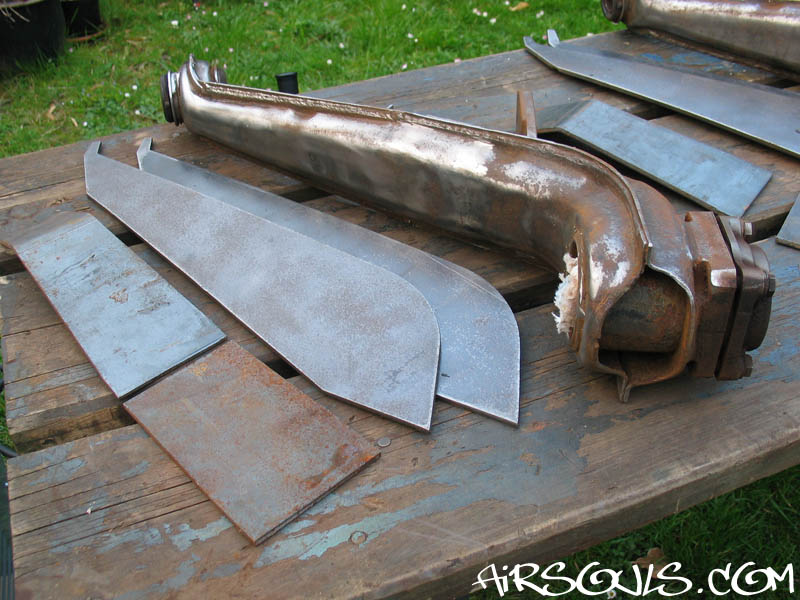
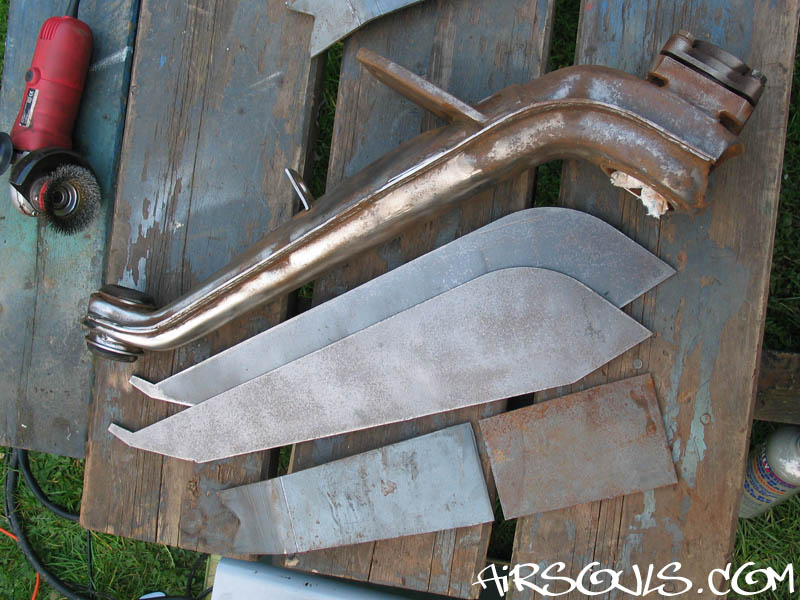
2. This is the point
where you can make your templates. For each trailing arm the
two largest pieces (top and bottom) are identical. Before you
transfer your templates to metal think about how you are going
to cut them out, as this may affect the thickness of metal you
choose. The pieces I used were 6mm thick mild steel, and would
have been a pain for me to cut out with an angle grinder! |
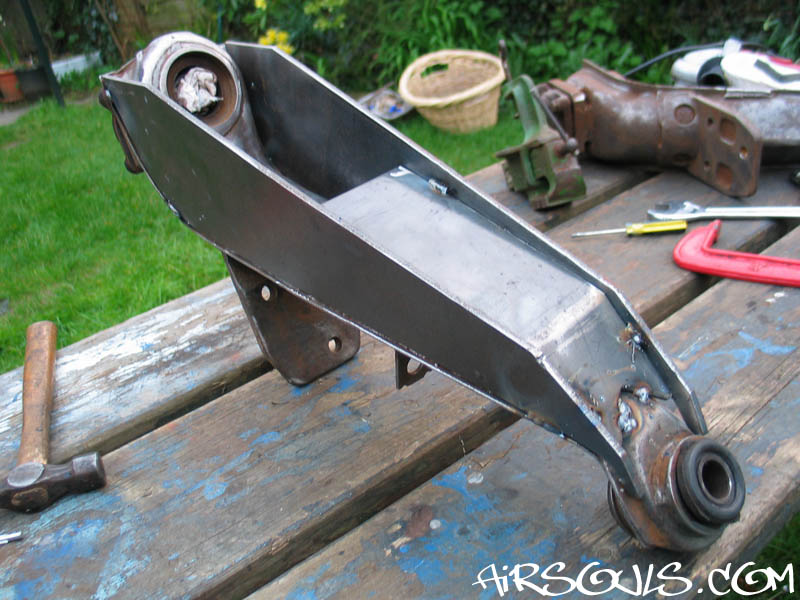
| 3. Grind the
areas of the plates, and the arm, that are going to be welded
to give you a good clean surface to weld to. Chamfer the edge
of the top and bottom plates where they meet the arm.
First tack weld the top and bottom plates to the arm, and
then tack in the back plate. To get things to fit you may
have to be heavy handed with a hammer. |
|
| |
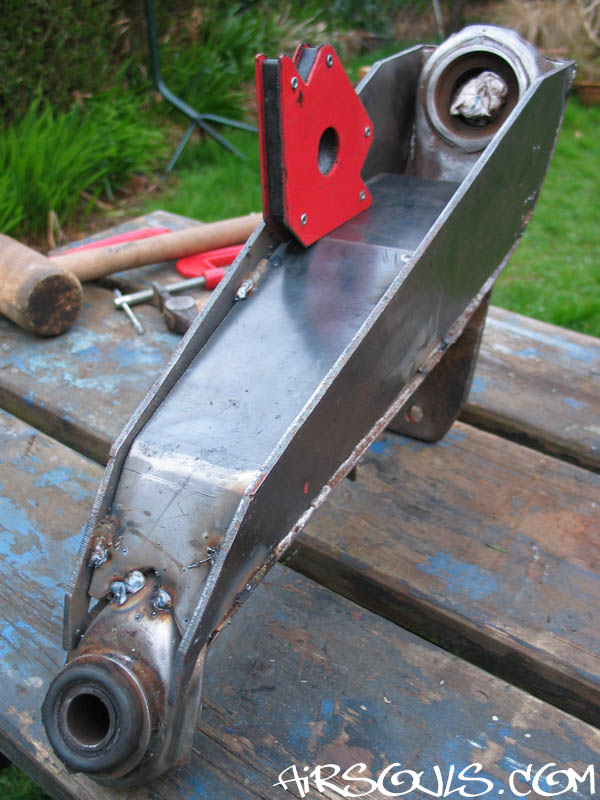
4. A magnetic
positioner is very useful to hold the plates in position while
you tack them. Once you have the arm tacked together check
that the stub axle fits. You may need to open up the gap between
the top and bottom plates with a hammer, or grinder. Once
you are happy that the stub axle fits, and can turn freely,
you can finish welding the plates on.
Before doing the rest of the welding you can take the bearings
out if you want. I left mine in as I planned to change them
anyway, but even after I had finished welding the arms the
original bearing were still good. They aren't close to the
heat anyway so you should be fine. Your choice! |
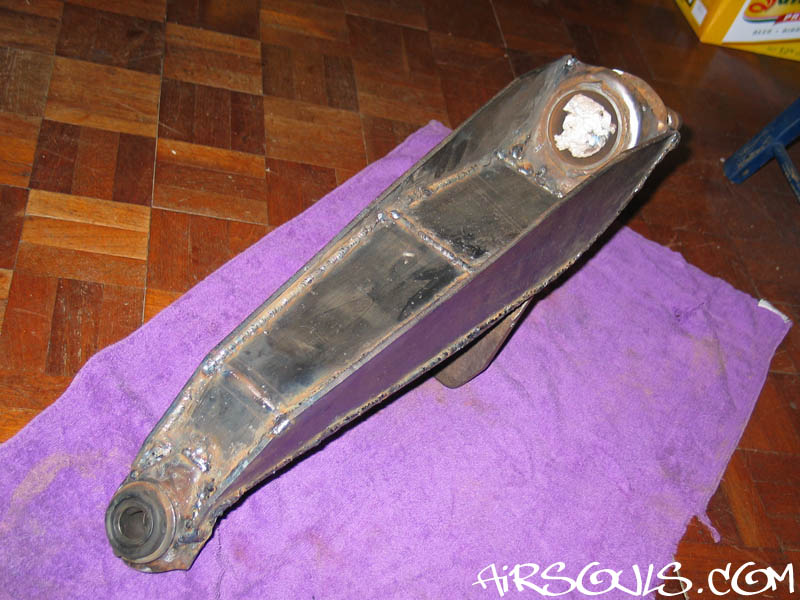
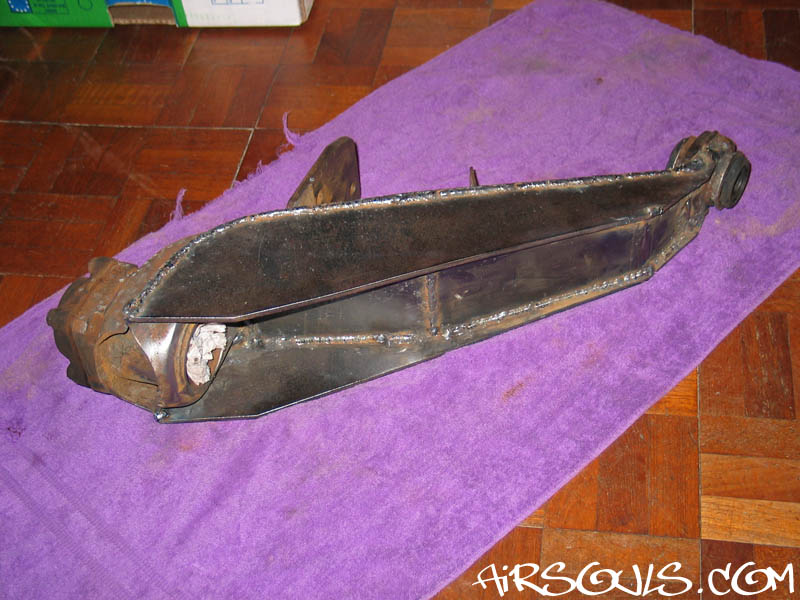
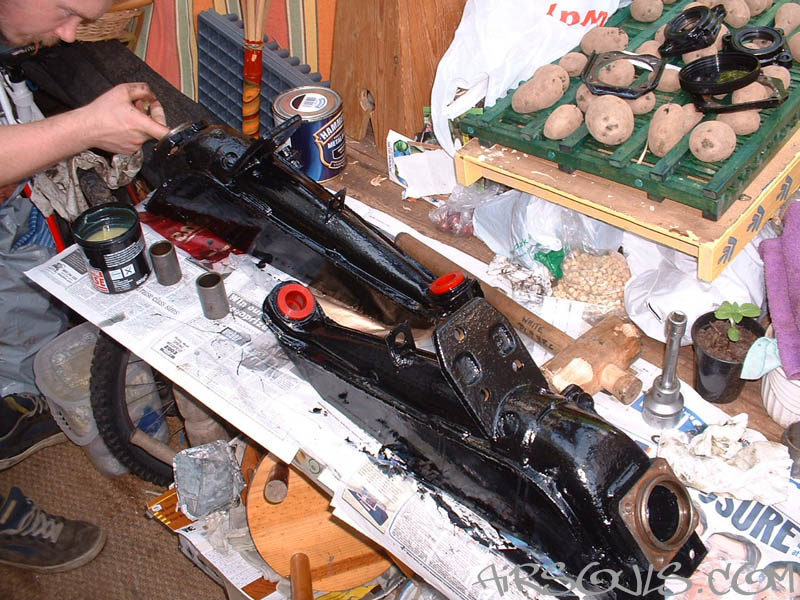
| 5. The plates fully welded to
my trailing arm. Make sure that you can tell the two arms apart,
because they are sided. |
|
| |
6. The next stage
is trail fitting. Make sure that the arms won't interfere
with anything throughout their whole range of movement. I
had to shorten the tube where the handbrake cable leaves the
frame horns.
In these photos you can see some caliper brackets have appeared.
For more on this click
here.
|
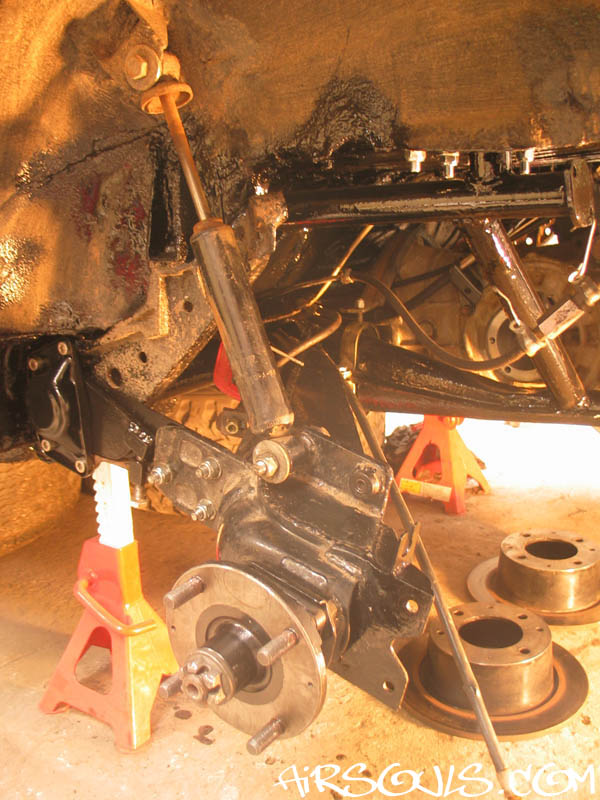
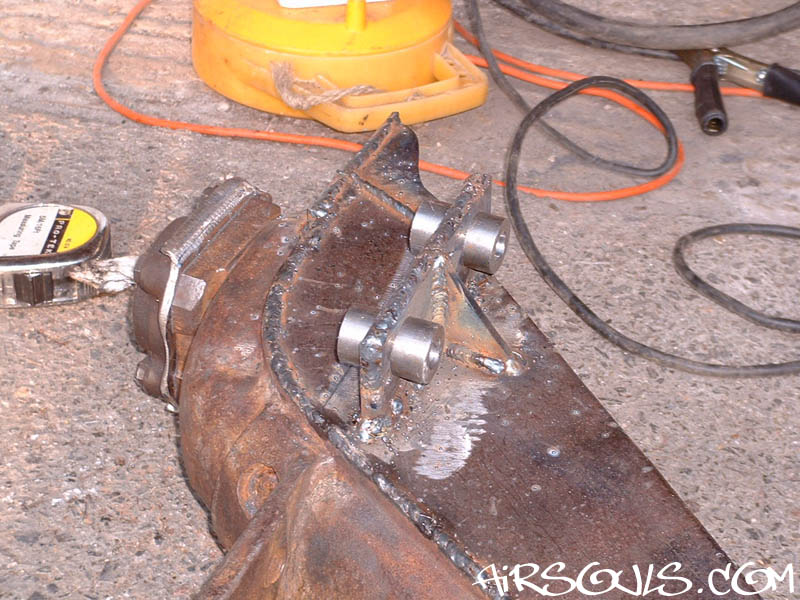
7. Once I had
the arms on the car I could decide where to put the shock
mounts. I had some steel bar machined to take the shock bolts,
and welded them into a 8mm thick plate. This plate was welded
to the arm in line with where I wanted the shocks to run,
and has a gusset for extra strength. I have stuck with torsion
bars, but if you swap the torsion bars for coil-overs you
will need to make double shear shock mounts.
|
|
| |
8. Because the
shock mounts are now on top of the trailing arms rather then
underneath you cannot use the stock mounts. Eventually I will
run two shocks from each arm through the inner wing and to
a roll-cage. As a temporary measure I created a shock mount
on each inner wing, in line with where the shocks will run
through the inner wing. Stock type 1 rear shocks were about
the right length for my temporary mounts. |
9. With the fabrication
of the trailing arms complete I cleaned them up and painted
them. The final stage before putting them on the car was to
fit and grease new bearings, and then slide in the stub axles.
I fitted heavier duty urethane pivot bushings to my trailing
arms. If you do this make sure you use plenty of the special
grease, otherwise the squeaking will drive you nuts! |
|
|
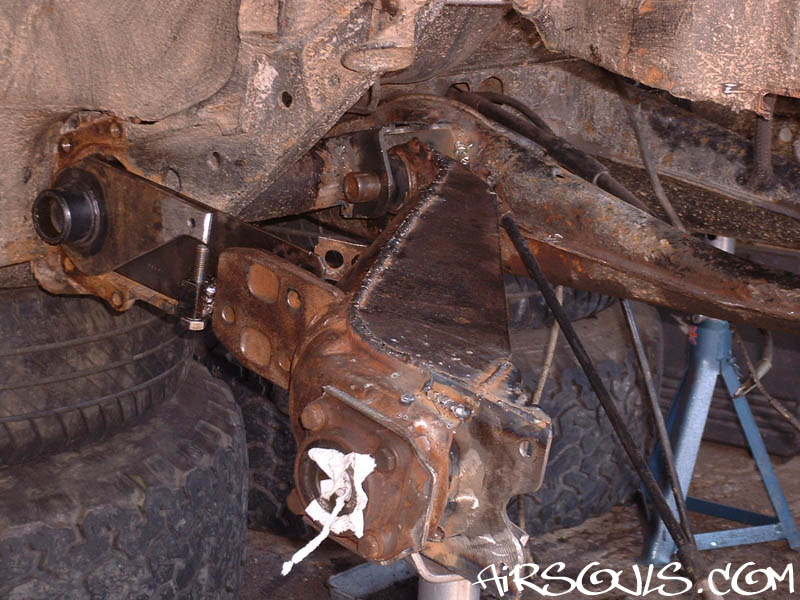
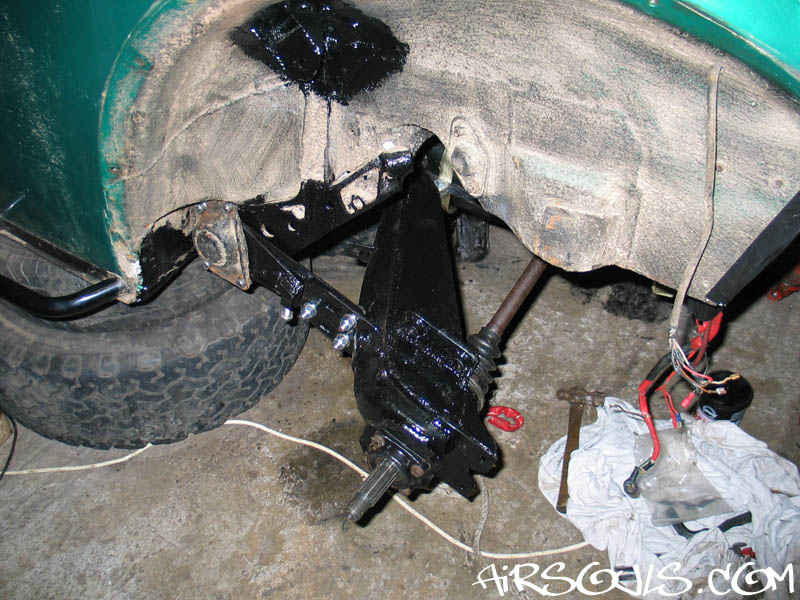
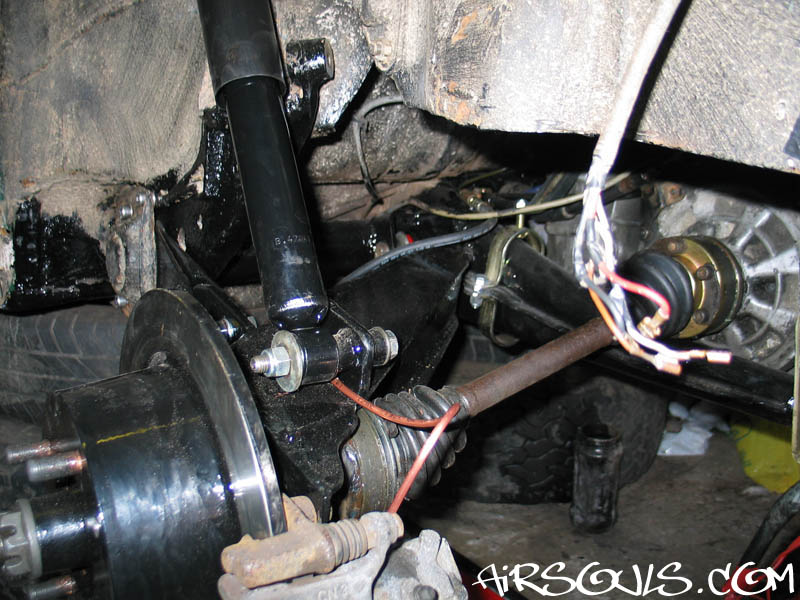
10. The new boxed
trailing arms bolt up pretty much like stock IRS arms, they
are just a little more tricky to maneuver because of the extra
weight. |
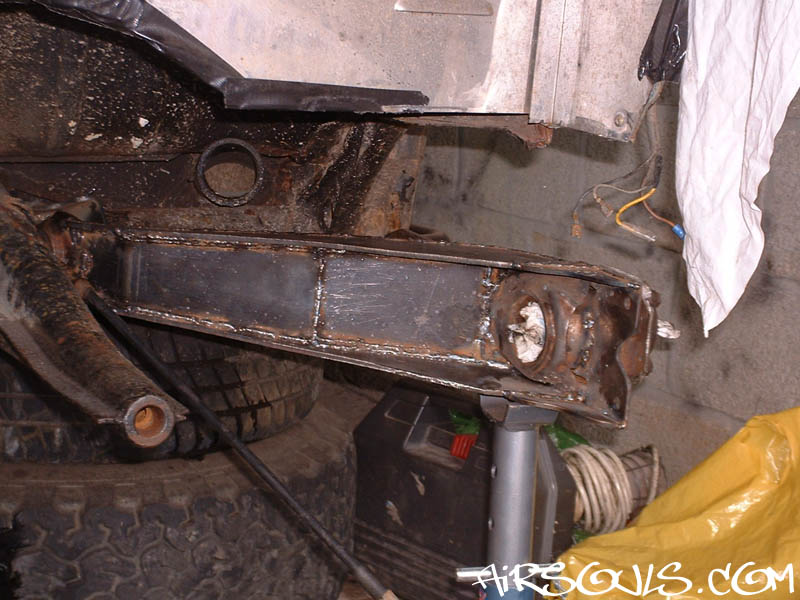
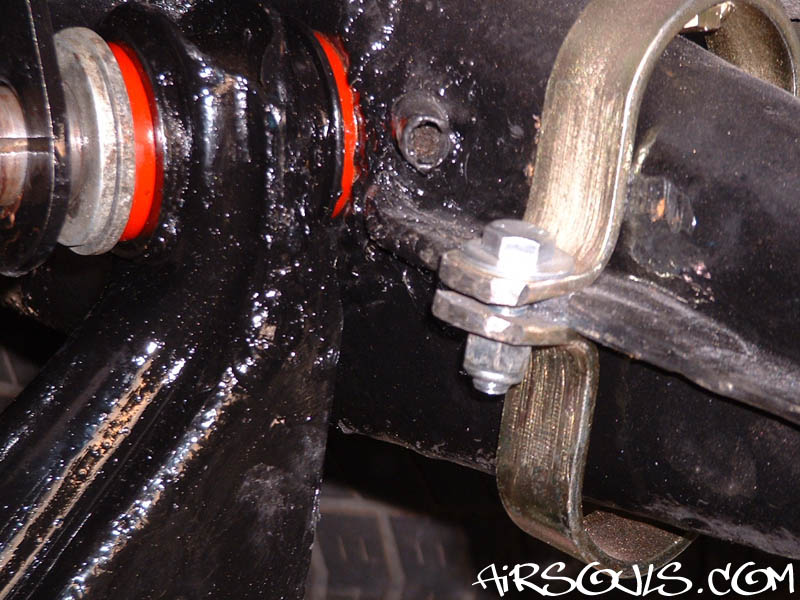
11. Here you can
see the handbrake cable tube that I had to shorten. I also
had to angle the tube towards the rear a little. You can see
where I had to clearance my gearbox strap too.
You can't see it in this photo, but I drilled the pivot bolt
and the IRS bracket for safety wire. I don't want my trailing
arms to fall off!
|
|
|
12. Here are the
arms fully bolted on, and ready to be used and abused. :-D |
| |
Wheels
on the ground for the first time: |
|
| |
|
|
| UPDATES: |
|
|
| U1. I'm never happy,
and wanted more travel. I got hold of a VW 182 IRS gearbox and
Porsche 944 driveshafts, CV joints and stub axles. (Certain
Porsche 924 and 944 models use 100mm diameter CV joints that
have more travel than VW type 1 or type 2 CV joints.) Stock
type 1 CV joints have a diameter of 94mm, so I had to take the
trailing arms and clearance them for the new CV joints. This
was just a case of trial fitting the new stub axles, and carefully
grinding the arm until it all fitted. |
|
| |
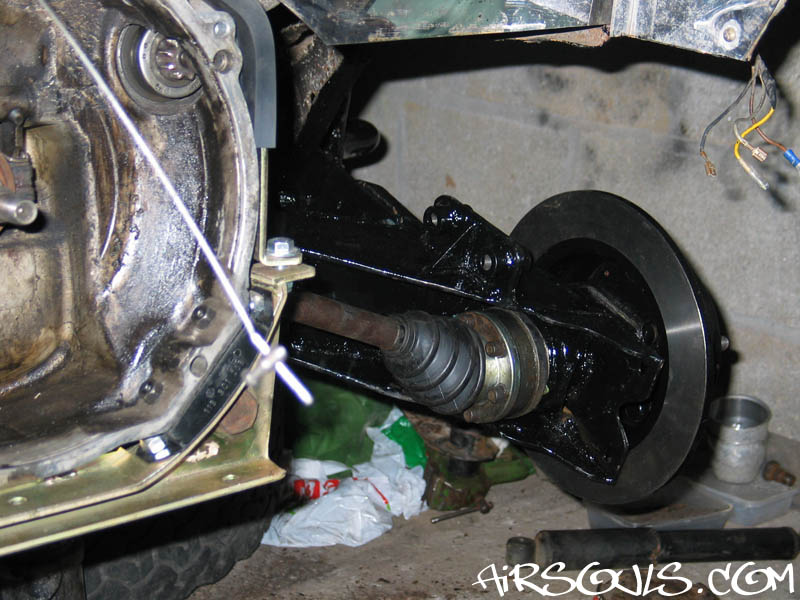
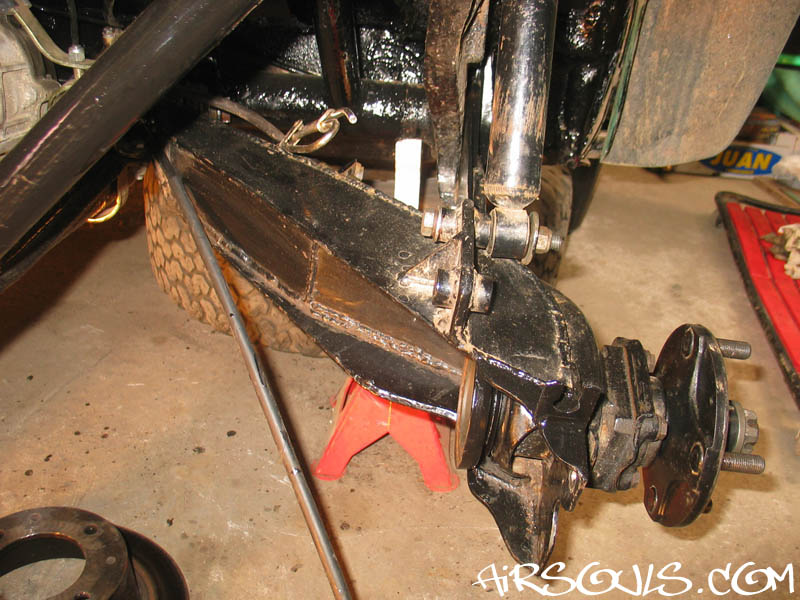
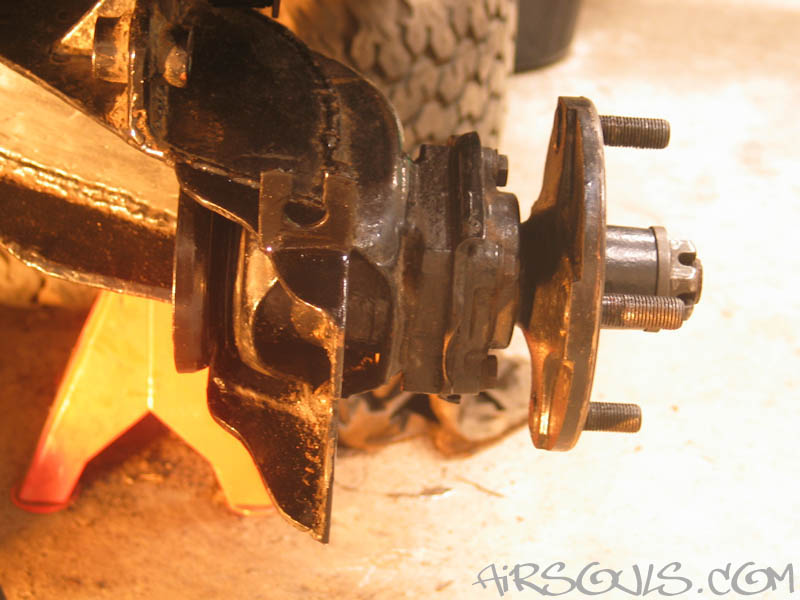
U2. You can clearly
see the section I had to grind away in these new photos. If
you plan to run larger CV joints from the outset you can take
their size into account when you build the arms.
If you do any clearancing don't just cut out square sections,
curved corners are much stronger. |
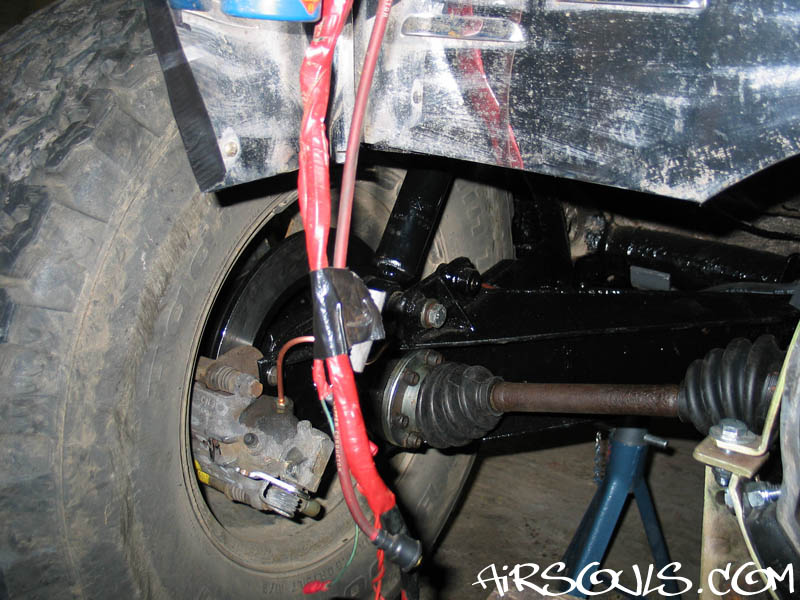
U3. In this photo
you can see that I have moved the shock to the other shock
mount on the trailing arm. This is to take advantage of the
extra extension that the 944 CV joints give me.
You can also see part of the roll-cage that I have now fitted,
so the next update will be when I run dual shocks to the roll-cage. |
|
| |
Click
an image to view a larger version. |
|
|
I have been running these arms for over three years now, and there
is no doubting their strength. (They will probably only get
replaced if I build some longer trailing arms for more travel.)
I'll do another update when I have fitted dual shocks.
Any questions feel free to e-mail. :-)
Log:
Trailing arms fitted: April 2003
Trailing arms modified for 100mm CVs: May 2004
Twin rear shocks fitted: June 2006
Jumped properly for the first time: September 2007
|