|
The full installation
|
I had the stock Type 1 disc brakes on the
front of my Baja, but still wanted better braking. Rear discs
were obviously the way to go, but the aftermarket kits are
very expensive. I studied the kits available, and read up
on known alternatives. Nothing suited what I wanted, so I
came up with my own method.
Bloody good it is too! Duncan (qwan) now has this setup
on his Subaru powered 182 as well. |
With the wheel off
|
| |
|
|
|
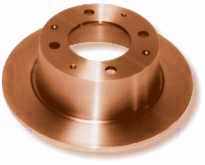
| First you'll need to source some parts.
I used: Porsche 914 rear rotors, VW Type
1 rear drums, and Ford Sierra Cosworth rear brake calipers.
You can use any rear caliper as long as it has an integrated
hand brake. Commonly people use calipers from a VW Golf. |
|
|
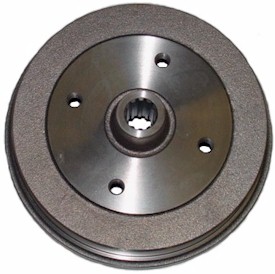
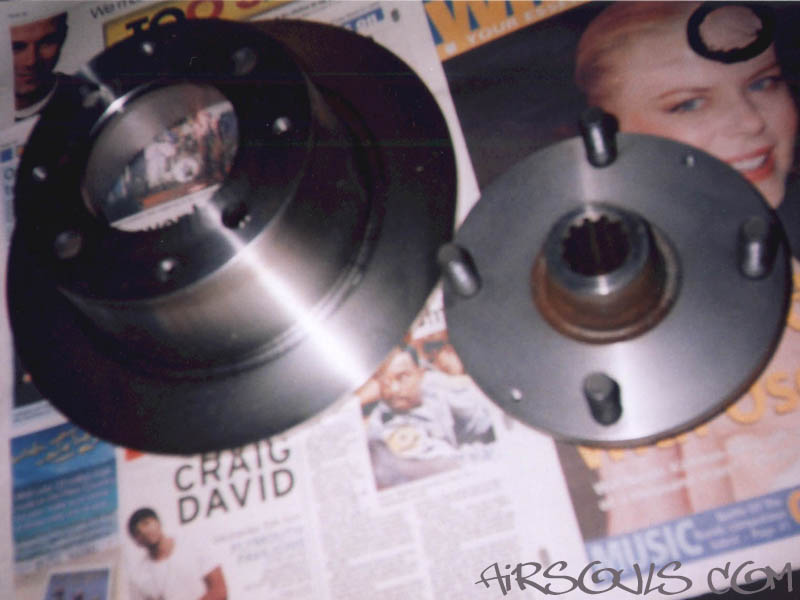
1. Here is the clever bit,
that no-one else seems to be doing. Get the rear drum (preferably
an old one) machined down to fit inside the 914 rotor. This
cost me £10-£15.
Some people use late Type 3 drum/hub centers, but they still
need to be machined to fit inside a 914 rotor. My method is
a lot cheaper and stronger! |
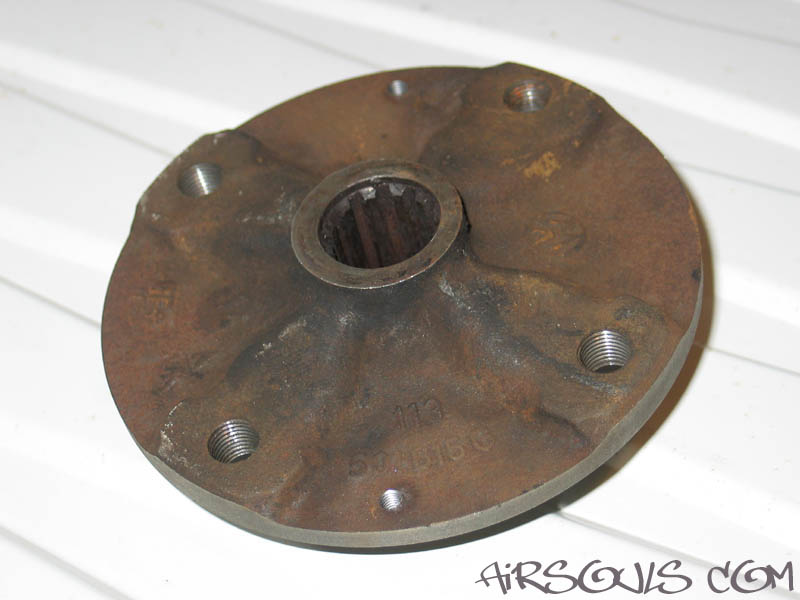
| 2. Here is another pair I
had made up. I used studs in my first pair, but you don't
need to, you can just use longer bolts.
Notice the small holes I drilled and tapped. These are to
bolt the rotor on. |
|
| |
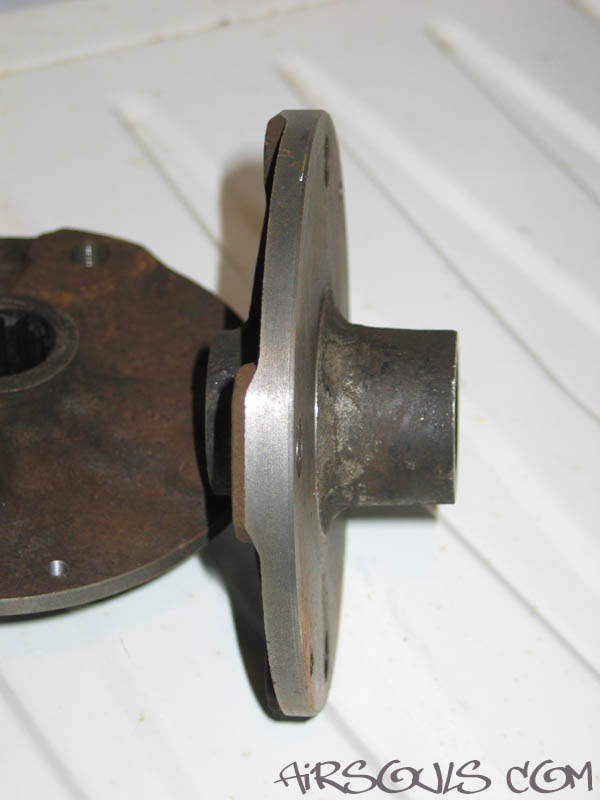
3. Here you can see the rotor
and machined hub bolted together. I run this on an IRS setup,
but you could make rear discs in the same way for a S/A (Swing
Axle) vehicle.
Note: You'll need countersunk bolts, so
that the head does not stick out and stop the wheel fitting
properly. |
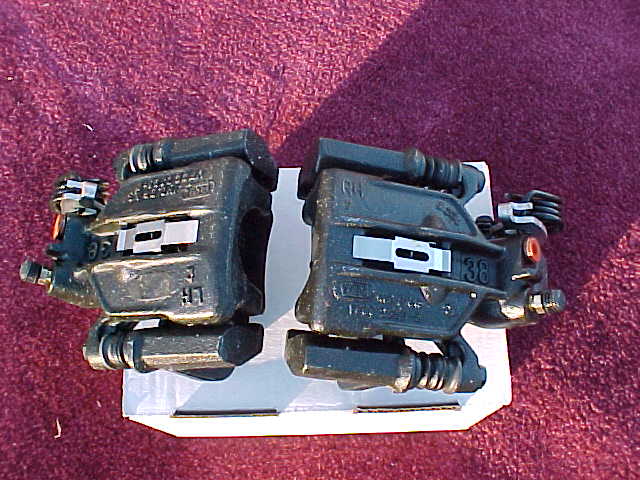
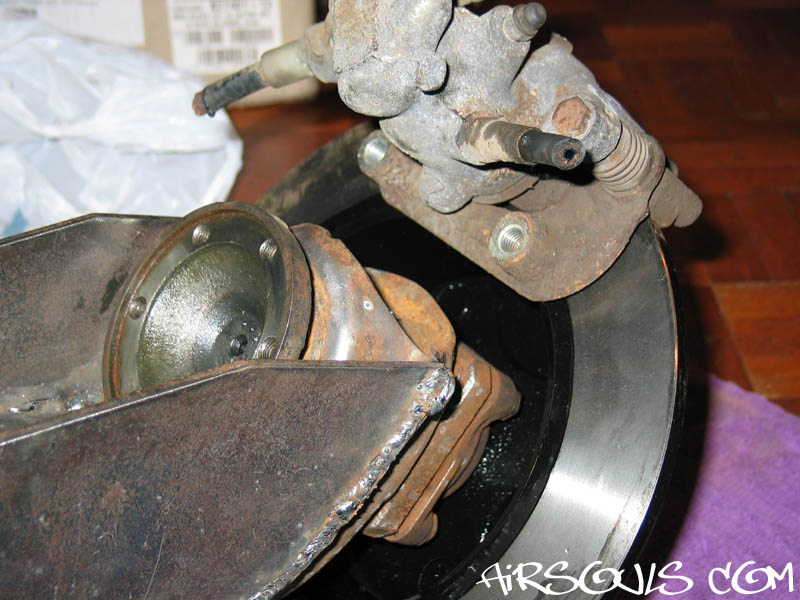
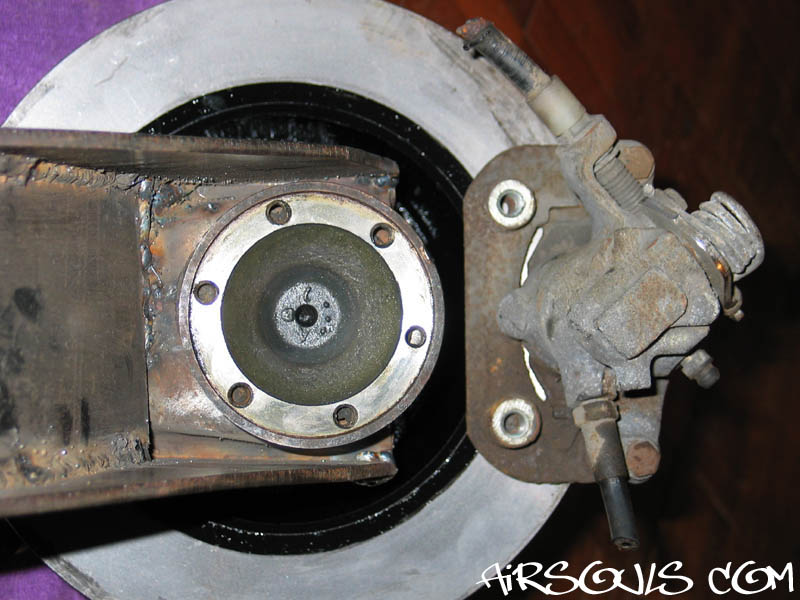
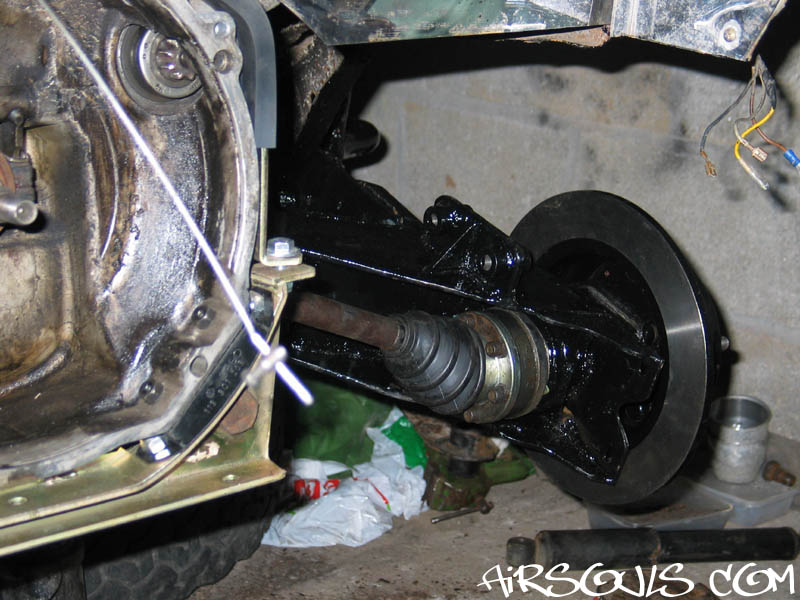
| 4. Here are photos from when
I was checking that the calipers would fit! I placed my calipers
at the rear where it is out of the way, but then I don't have
a typical setup! But this means I have to take my calipers off
the bleed them. The best way to mount the calipers for general
use is with the bleed nipple at the top. It'll make your life
easier in the long run. :-) |
|
| |
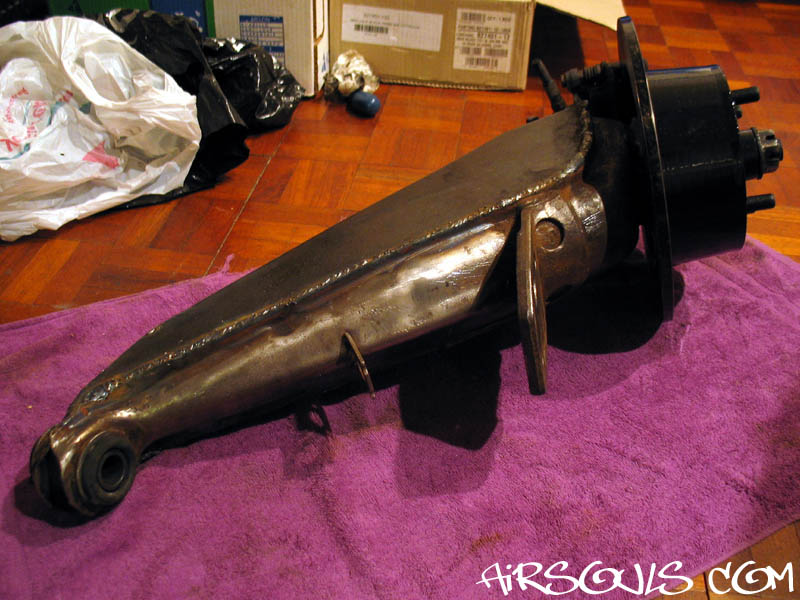
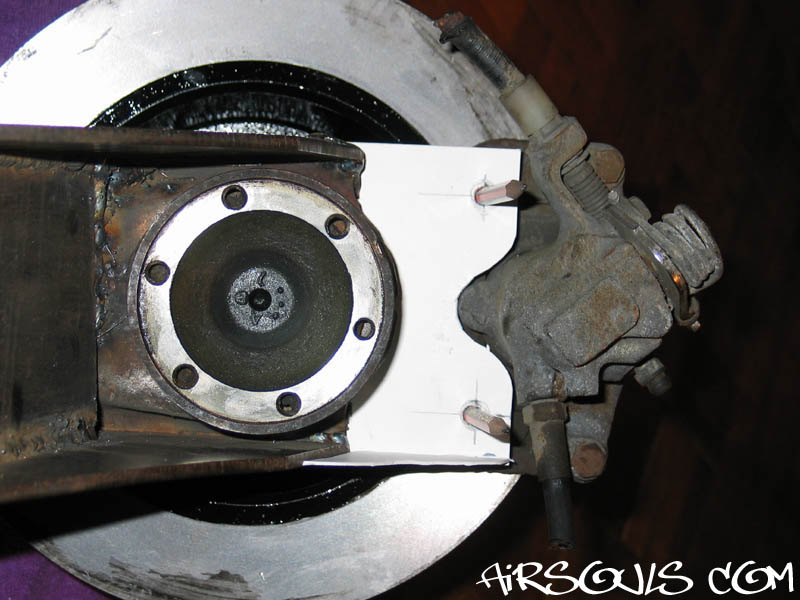
5. I decided to weld the
caliper mount to the arm. It suited my application and would
be very strong! I made a cardboard template before I cut
any metal. On the actual mounts I used 4mm thick steel plate,
which is plenty strong enough with the two gussets.
(The Golf and Sierra calipers both have a bolt spacing of
90mm.) |
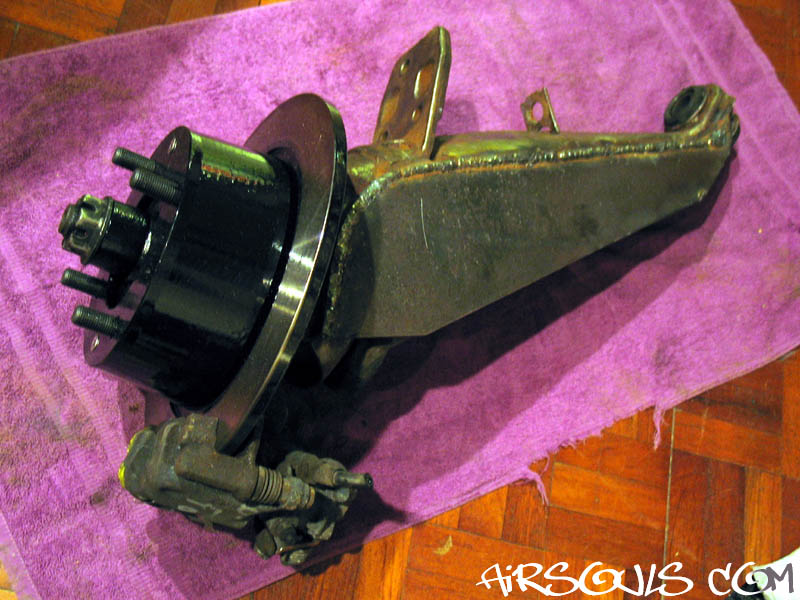
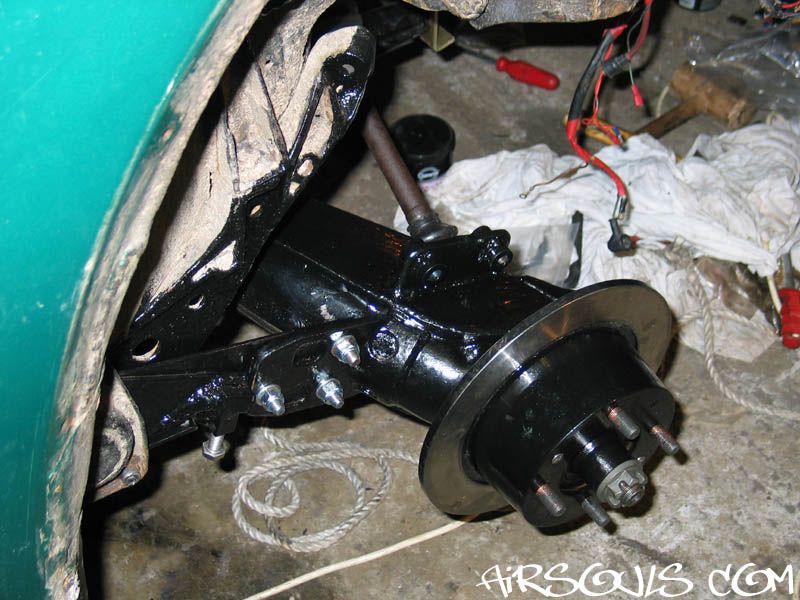
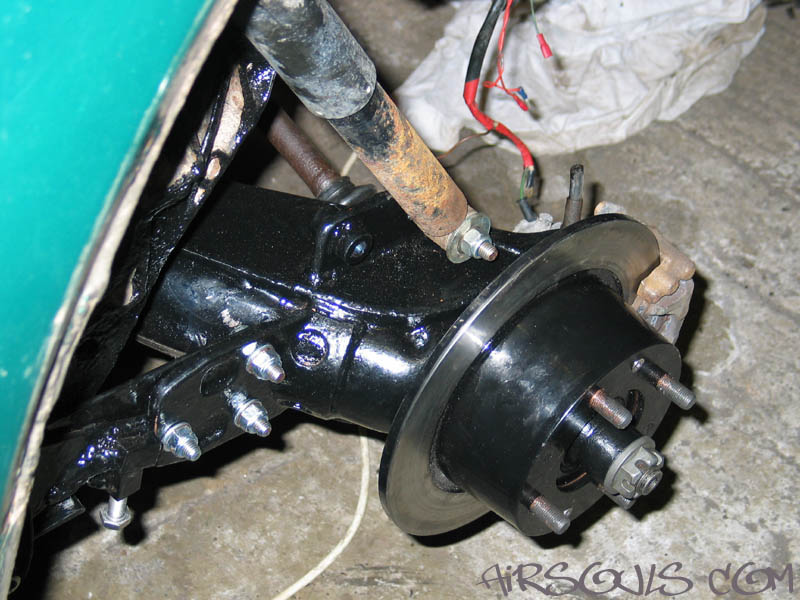
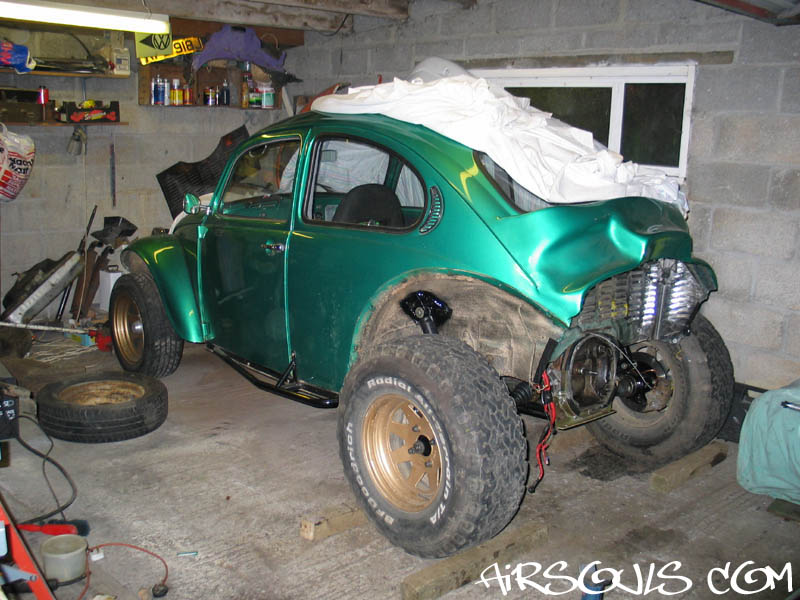
6. Here are the discs on my
Baja for the first time. On the second photo you can see the
mount welded on.
Note: This way of making rear disc increases
the rear track by 7mm per side, which is
the thickness of the 914 rotors. Not a problem on my Baja.
:-D However if you want less of an increase you could
machine the face of the drum down a little. |
|
| |
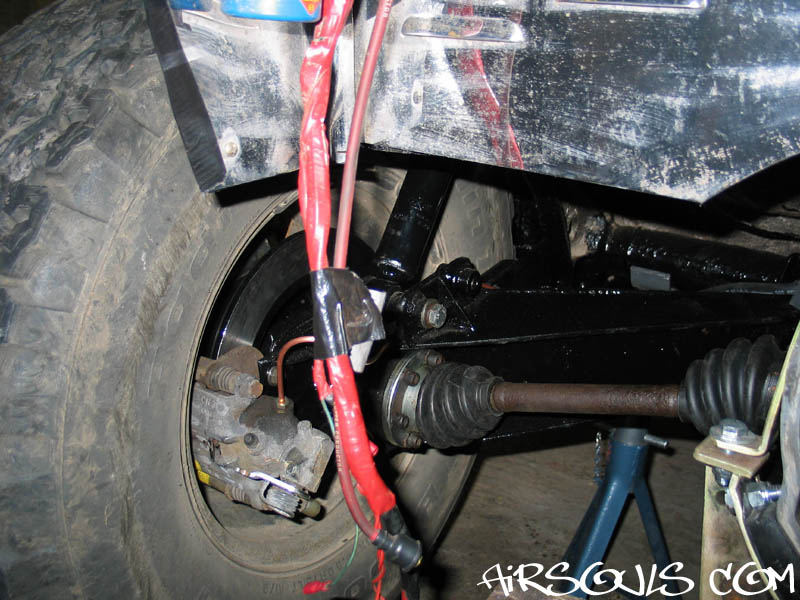
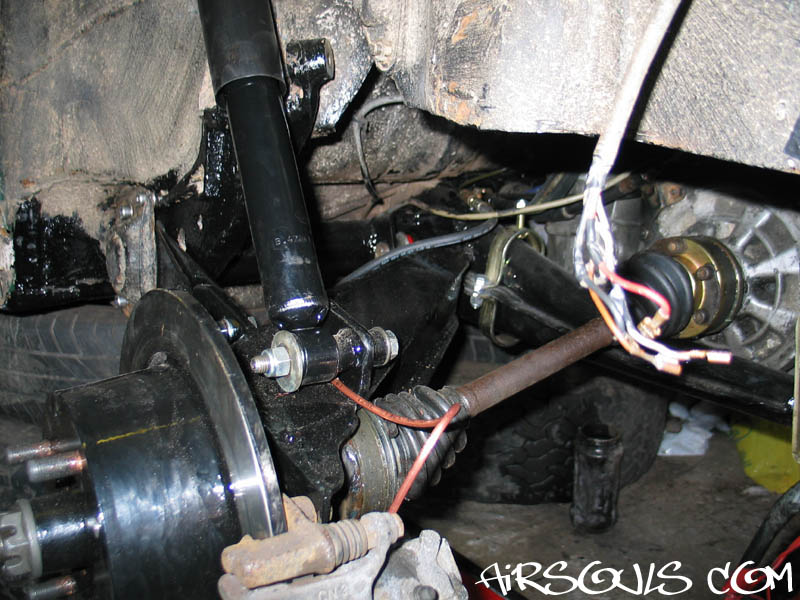
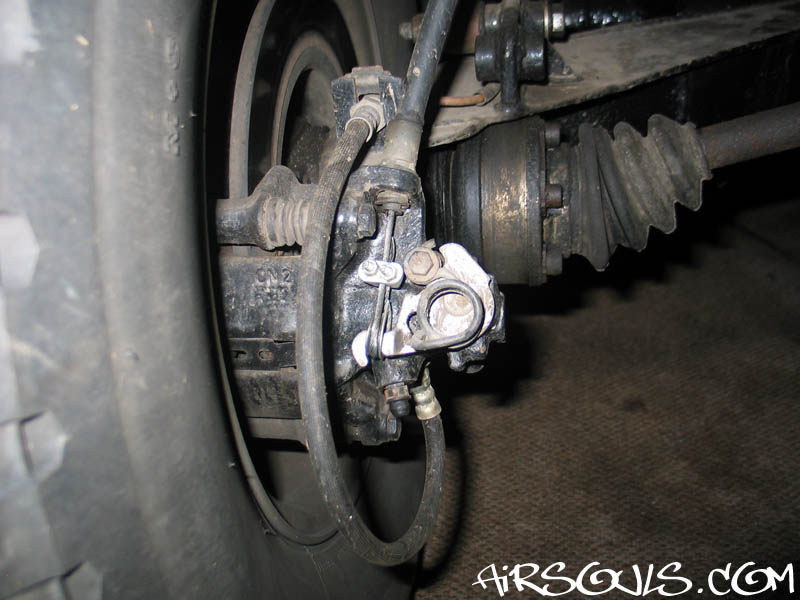
7. Here are the calipers on.
No chance of them fouling my wheels, but check the calipers
you pick will fit with the wheels you use.
IMPORTANT: Make sure that when you bolt
the calipers on you use specific caliper bolts. They have
a higher strength rating than most bolts. You don't want them
braking! |
| 8. It's worth pointing out that
I ended up swapping the rear calipers over towards the end
of this installation. (I put the left one on the right disc
etc...) The installation in the photos meant that my handbrake
cables hung down a bit under the car. I didn't want them catching
on anything, so I swapped the calipers over so that the handbrake
cable now runs over the top of the IRS arm. This probably wouldn't
be necessary on a street car though. |
|
| |
9. Initially for the brake
hard lines I bought some copper brake pipe and made up some
longer brake lines to go to the rear calipers. It's very
easy to do.
But as the calipers
are 'floating', legally they should have soft line running
to them. So at a later date I welded a 'stop' to the top
of my caliper mounts and ran a T1 front brake hose to the
caliper. |
| 10. This is how they look with the wheels
on. |
|
|
11. The stock beetle handbrake
cables weren't long enough, so I made up my own cables. I bought
4 cables, two Golf ones and two Type 2 ones. I chose these cables
because one has a long outer, and the other has a long inner.
I used the Golf outers cut to the length I needed, and Type
2 inners. I cut the caliper end of the inner cables off in order
to fit them into the new outer. |
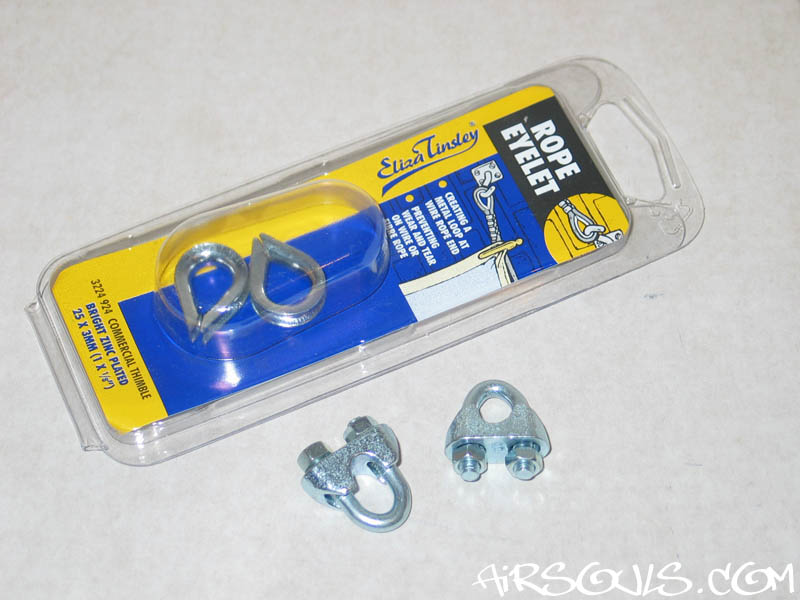
12. It took me quite a while
to find a way to fit the cable to the caliper that I was
happy with. What I have ended up with is a wire rope
eyelet and a cable clamp. You could do it with just the cable
clamp, but the eyelet stops the cable from wearing badly.
Both these parts are readily available from places like
B&Q, and are cheap too. |
|
| |
|
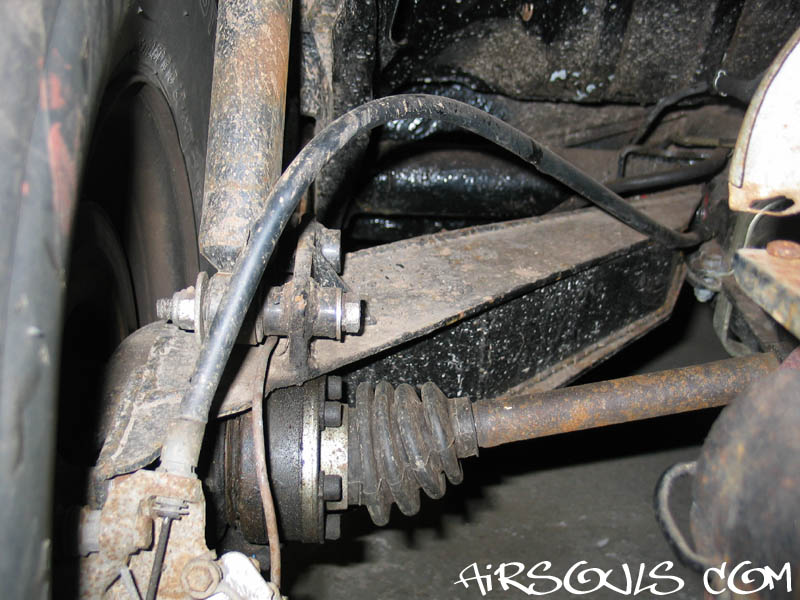
After taking a few rides in my Baja it didn't
take long for qwan to decide that he wanted to do the same
on his 182. He used Golf rear calipers for his, and made the
(6mm thick) caliper mount removable by welding it to a cut
down drum backing plate. This is a photo of his rear disc setup. |
| |
Click an
image to view a larger version. |
|
|
It's a simple idea really, and
not that hard to do. Well worth it too! My Baja stops REALLY
well, whatever the weather. Plus I no longer have the hassle
of adjusting my rear brakes. :D
As with any of the how-to's, feel free to e-mail
with any questions you have. :-)
Log:
Rear discs fitted: April 2003
|